


Even a year and a half after their release, Apple’s AirPods Pro 2 remain top wireless earbuds. This is due to new features in iOS 17 such as Adaptive Audio, Conversation Awareness, and Personalized Volume. More features for the AirPods Pro 2 may be revealed at the Apple Worldwide Developers Conference on June 10.
Currently, there are several less well-known features of the AirPods Pro 2 that you can explore. Since their release, I have been using both the initial model and the updated version with USB-C charging, which was released with the iPhone 15.
The great thing is that some of these tips also apply to older AirPods models and the AirPods Max headphones. Just be sure to upgrade to the most recent iOS 17 version.
Hidden Control Center options
The Control Center offers a fast way to manage various AirPods settings. When your AirPods are connected to your iPhone, press and hold the volume slider. A list of features will then display below, including noise control mode, conversational awareness, and spatial audio switches.
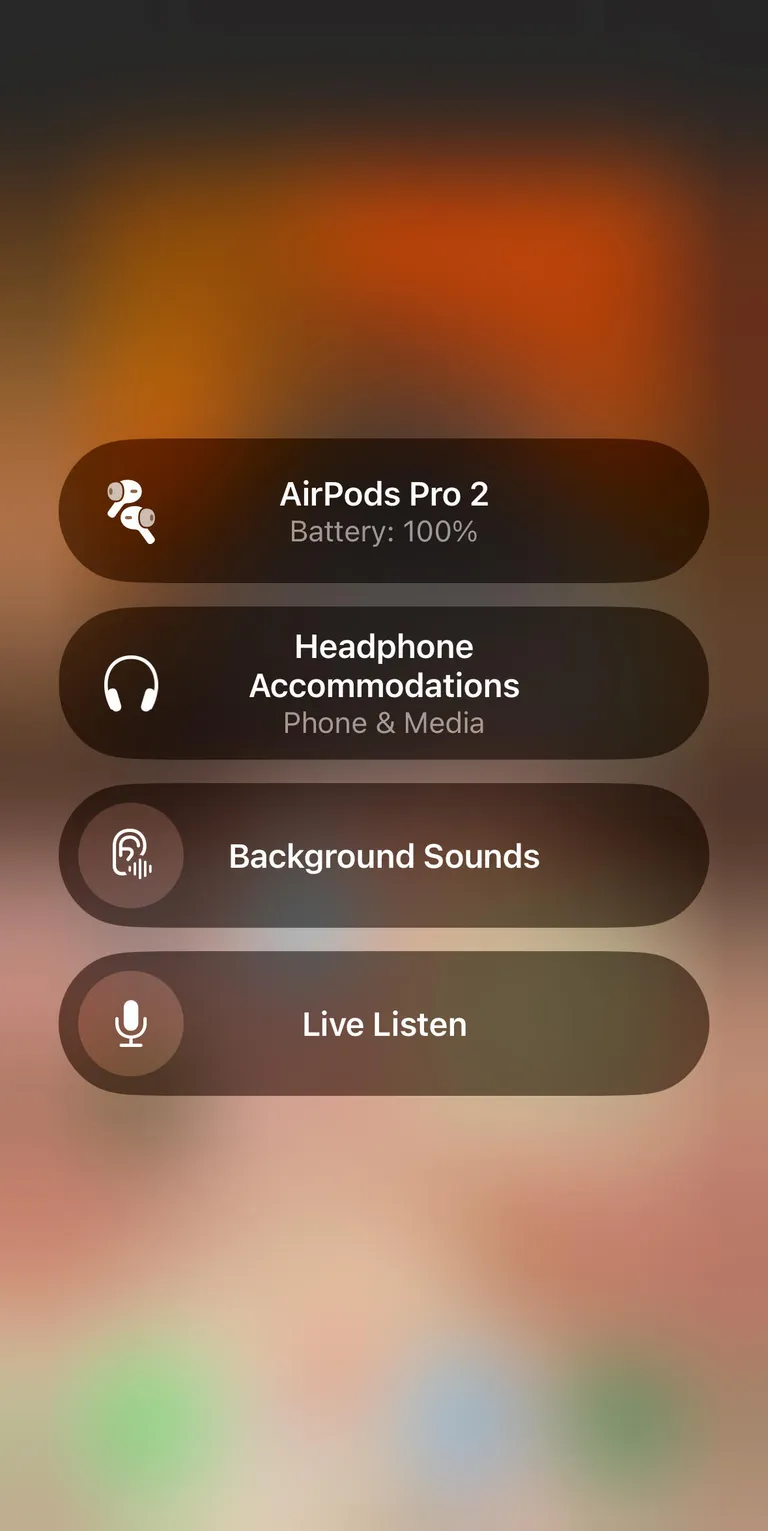
There are more additions you can make to the Control Center in just two simple steps. First, enable the Hearing feature by navigating to Settings > Control Center. Next, return to Settings > Accessibility > Hearing Control Center and click the green plus icon beside any options you like, such as Background Sounds and Live Listen.
Background Sounds includes noises like rain or ocean sounds, which play through your earbuds to aid concentration. More details on the Live Listen feature are provided below.
Now, swipe down to access the Control Center once more, and you should spot the Hearing icon, which resembles an ear. This allows you to check your AirPods’ battery level and manage all the features you activated earlier, such as Live Listen.
Live Listen
Live Listen enables you to boost sounds captured by your iPhone’s microphone and send them directly to your ears through any AirPods model. It is designed mainly for accessibility purposes, but it can also be used to overhear sounds from another room, like using it as a simple audio baby monitor.
This feature is located under the Hearing option in the Control Center. After activating it, swipe down, tap the Hearing (ear) icon in the Control Center, and then select Live Listen.
Customize audio with Headphone Accommodations
If you want to alter the standard sound settings on your AirPods and you use Apple Music, begin by adjusting the equalizer through Settings > Music > EQ. Other music apps like Spotify also offer an equalizer feature that you can personalize.
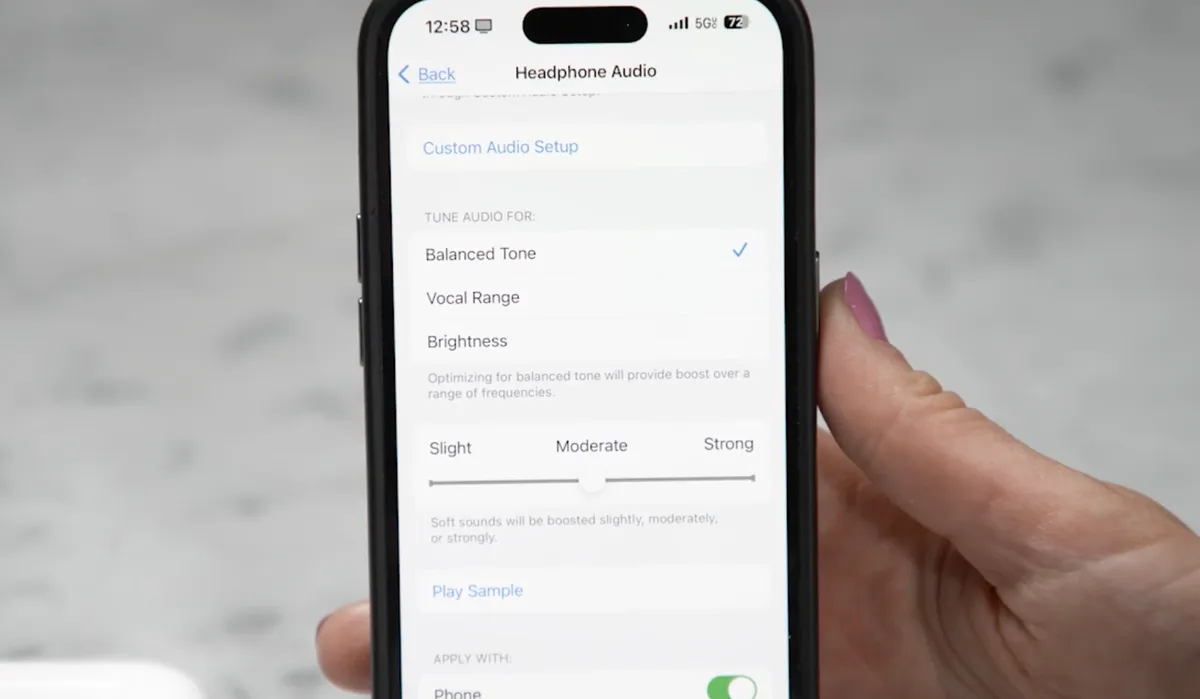
Further refine your audio settings with Apple’s Headphone Accommodations feature. Navigate to Settings > Accessibility > Audio/Visual > Headphone Accommodations. Here, you can select audio options such as balanced tone, vocals, or brightness, or increase quiet sounds using the slider.
Personalized spatial audio
The TrueDepth camera on your iPhone does more than just FaceID. It also helps customize spatial audio to fit the unique shape of your ears.
To set this up, go to Settings > AirPods > Personalized Spatial Audio and follow the on-screen directions. You will need to position the phone in front of your face and then turn your head left and right to map your ears. Ensure spatial audio is activated from the Control Center, then test it with compatible movies and music.
Share audio with a friend
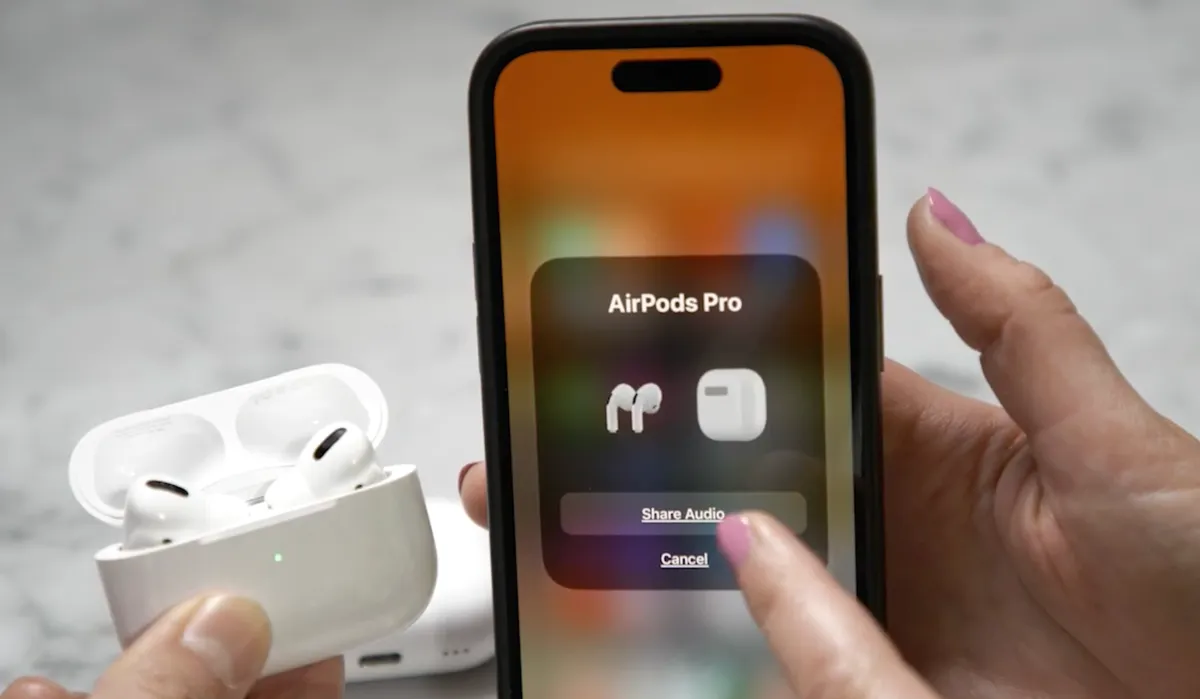
Recall the days of sharing tunes with a friend using wired earbuds? Here’s how to do it in 2024. Swipe down to open the Control Center, then tap the AirPods icon at the top right corner within the music playback section. Choose Share Audio.
Bring another pair of AirPods or Beats close, open their lid, then press and hold the pairing button on the case. Follow the on-screen instructions to pair these to your phone, allowing you to enjoy the same music together.
Siri can describe pictures received in Messages
I found out that when I have my AirPods Pro 2 on and my phone is locked, Siri can tell me about photos I receive in the Messages app. For instance, one day while I was waiting for a bus, Siri told me my best friend sent a picture of a brown dog on a black and white checkered floor. I checked my phone, and Siri was exactly right.
To test this feature yourself, ensure that “announce notifications” is enabled. Go to Settings > Notifications > Announce Notifications, and make sure the Headphones setting is activated. Also, check that the Messages app is enabled further down on this page. Then, have a friend send you a photo — both SMS and iMessages should work. See if it works for you!
Discover additional AirPods settings using the Shortcuts app
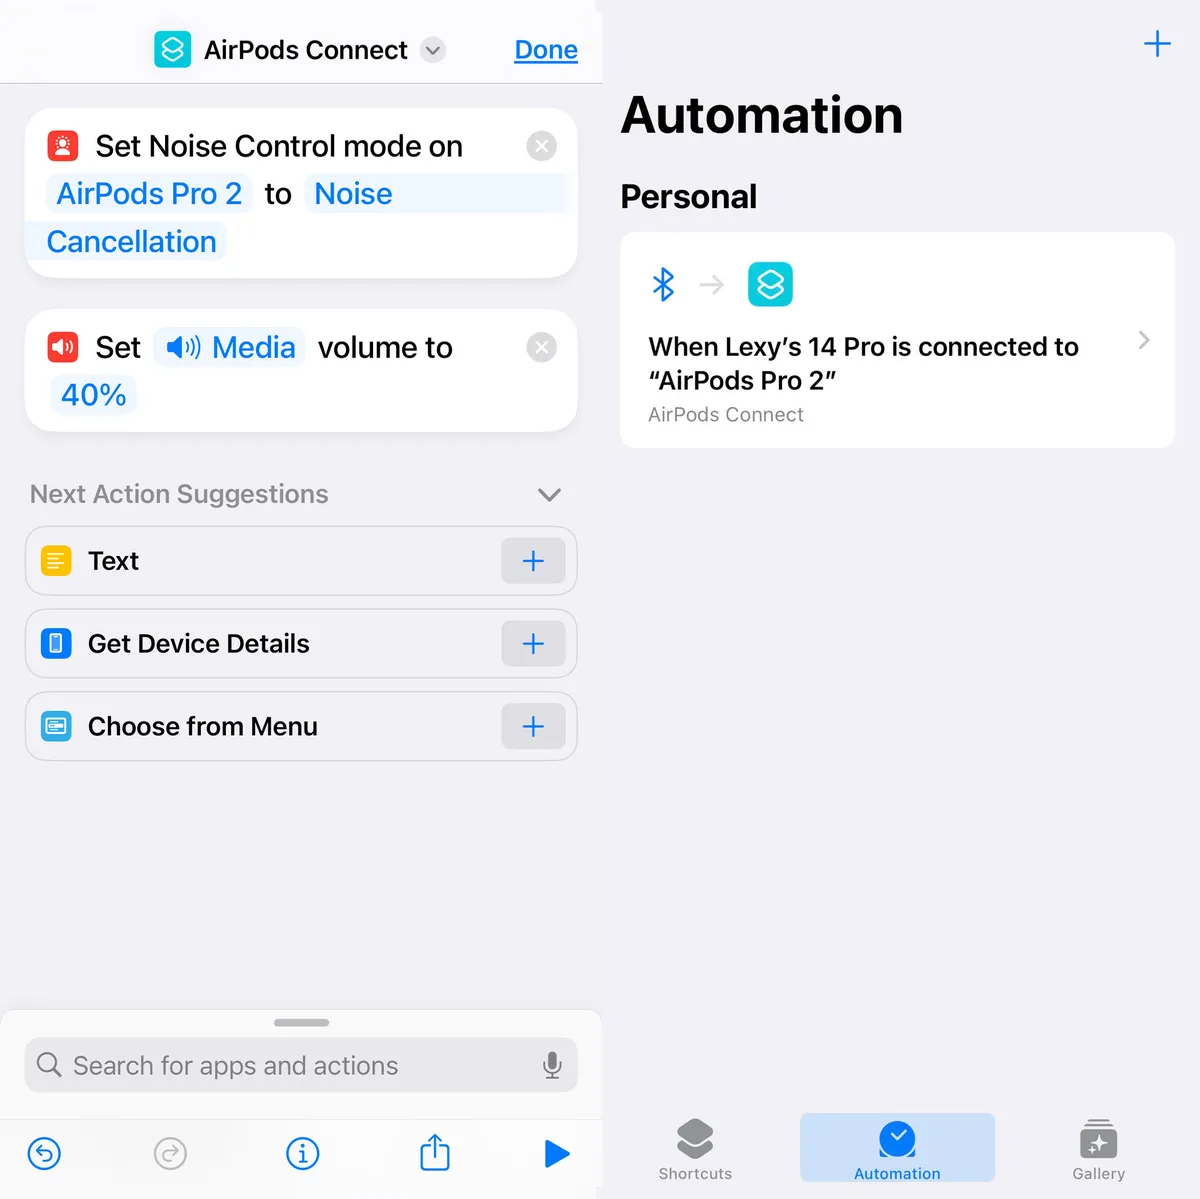
The Shortcuts app on the iPhone is a great way to enhance your AirPods experience. A top shortcut I use automatically adjusts my AirPods to my preferred settings when they connect to my iPhone: noise canceling mode at 40% volume.
First, ensure your AirPods are in your ears and connected to your iPhone. Open the Shortcuts app, tap the Plus icon, and then Add action. Search for “set noise control mode,” and then tap the gray box labeled “route.” From the menu, select your AirPods, then choose your preferred mode, which in this case is noise canceling.
Next, set this shortcut to activate automatically when you put your AirPods in. Go to the Automations tab, tap on New Automation, and select Bluetooth. Find your AirPods under the device list, ensure “is connected” is checked, then select “run immediately.” Click next, then pick the Shortcut you just made.
Now, whenever you put in your AirPods and they connect to your phone, this shortcut will execute automatically for you to test.
What we think?
I think the new AirPods Pro 2 features are really cool. Using Adaptive Audio makes listening much better because it adjusts the sound to where I am.
Conversation Awareness is helpful because it lets me talk to people without taking out my AirPods. The Personalized Volume feels like it’s made just for my ears. I’m excited to see what else Apple will introduce for the AirPods at their conference.